Sharpening a knife is typically quite simple. You drag the blade across the sharpening stone or rod and after a bit, you have a sharpened blade. It’s not as easy when it comes to a serrated knife. But, do knife sharpeners work on serrated blades?
A serrated knife has teeth with grooves and divots – a sawtooth edge. Because of this, a standard sharpening stone won’t get into the nooks and crannies.

Can you sharpen a serrated knife? Yes, it can be sharpened with the right method. While if it’s a cheap knife, you may be better off getting a new one. But for a good quality knife, it is definitely worth the effort.
In this step-by-step guide, we’ll show you how to sharpen your favorite serrated knife in just three easy steps. Get ready to bring back that razor-sharp edge and make your knife as good as new!
1. Choosing the Right Knife Sharpening Tool
Since a standard sharpening stone won’t work, you’ll need to purchase an appropriate serrated knife sharpener tool. One of the best ways to sharpen a serrated knife is with a sharpening rod that fits your blade. Luckily, you can find sharpening rods in a variety of diameters.
Sharpening rods come in many different materials. The standard rod you’ve probably seen is made of steel, however, there is also a ceramic rod that some prefer because it’s fairly inexpensive and tends to be stronger than steel.
When purchasing sharpening rods, you’ll want two variations. The first will be of a coarser grit that will be used during the initial sharpening process. The second will be a finer grit that allows you to provide the finishing touches to your blade.
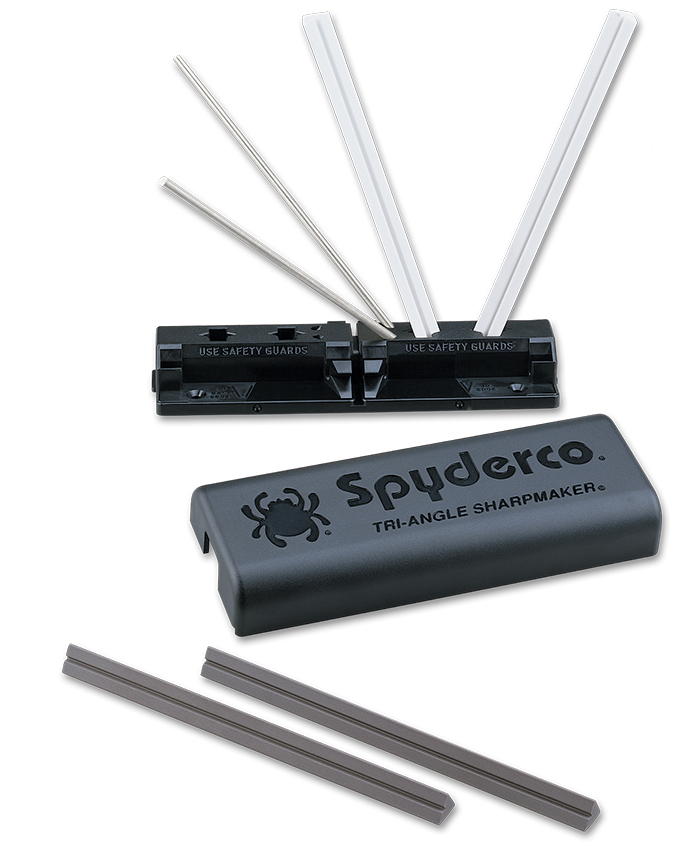
A top option for any avid knife owner is the Tri-Angle Sharpmaker from Spyderco. What we love about this handy tool is that it takes the stress out of keeping your blade at a specific angle to your stone.
The plastic base has keyed holes at varying degrees that will allow you to consistently get the perfect angle. This particular set includes two sets of high alumina ceramic stones of different grits, along with a pair of safety rods to protect your hands during the sharpening process.
2. Sharpening A Serrated Knife
Once you’ve found the appropriate tools that you’re also comfortable with, it’s time to begin sharpening your blade. Unlike standard knives, when working with a serrated blade you’ll need to focus on one groove at a time.
Serrated blades have a series of small teeth that are designed to grip and tear food. This makes them ideal for tasks such as slicing bread or tomatoes. However, it also makes them more difficult to sharpen than flat-edged knives. This is because the teeth of a serrated blade are very small and delicate. If you are not careful and if you rush the sharpening process you can easily damage the teeth when sharpening them.
Positioning the Sharpening Rod
Start by bracing the sharpening rod inside the first groove of your blade. The goal here is to remove the steel edge while maintaining a consistent angle. To achieve this, slide the blade or sharpening rod in the direction of the beveled part of the groove. Follow the same direction with each pass, pushing the blade away from you so as to avoid injury.
Repeating the Process
You will repeat this process on every groove of your knife. When sharpening a serrated knife, it is best to take your time to make sure you’re getting a nice even contact. If you go too fast you have the potential of making an uneven edge. Since you are sharpening your knife on one side, be sure to look closely at the bevels to make sure you’re going the right way.
3. Finishing Touch
Once you have completed sharpening your serrated blade it is time to get rid of any burrs that may be left behind. If you’ve ever run your fingers down a knife from top to bottom and felt your finger catch on a piece of metal, that’s a burr. When you feel them, you know the knife has been fully sharpened and is ready to be finished.
There are different techniques you can use to get rid of the burrs. The first option is to use a leather strap where each side of the blade is carefully dragged across it. Much like we see in barbershops for old razor blades, this process both removes burrs while helping your blade shine.
The second method is to use the sharpening rod to remove any burrs. This method requires a gentle touch, as you don’t want to risk damaging your blade with unintended scratches as you grind down the burrs.
Final Thoughts
Overall, sharpening a serrated knife isn’t necessarily hard, but it is extremely time-consuming. If you have a knife that you love and want to continue using, I would invest in a nice sharpening rod to keep the knife in tip-top shape and never worry about having it tear through your food rather than slice.

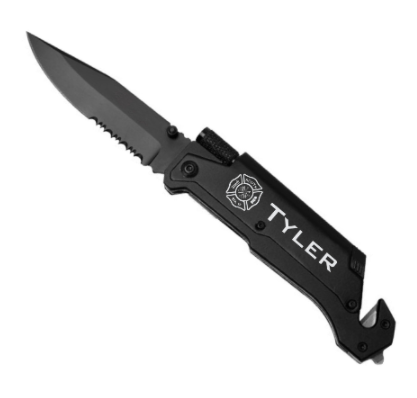
Grab A Personalized Pocket Knife
Now you know how to sharpen a serrated knife, how about you consider getting yourself or a loved one a high-quality pocket knife that will last? We have a great range of pocket knives available that are hard-wearing, durable, and can be personalized.
If you are looking to enhance your knife-sharpening skills further – check out our guide on How to Sharpen a Pocket Knife with Whetstones. It provides step-by-step instructions and valuable tips for achieving a razor-sharp edge on your favorite pocket knife.